Snapseed for PC has become a sought-after solution for photo editing enthusiasts who want to bring mobile-level convenience to their desktops. Known for its intuitive interface and robust features, Snapseed is essential for both photographers and casual users. This guide delves into how to download, install, and use Snapseed for PC, helping you take your photo editing skills to the next level.
Why Choose Snapseed for PC?
- Advanced Features: Snapseed boasts over 29 professional tools and filters, including healing, brush, structure, HDR, and perspective adjustments.
- User-Friendly Interface: Even beginners find it easy to navigate and apply complex edits.
- Free to Use: Unlike many editing software programs, Snapseed is completely free.
- Cross-Platform Consistency: Edits made on PC can sync seamlessly with your mobile device via Google Photos.
Benefits of Downloading and Installing Snapseed on a Computer
- Experience editing on a larger computer screen without worrying about your mobile device running out of battery.
- Perform tasks more easily using a mouse and keyboard.
- Edit a large number of images comfortably over an extended period.
Recommended Configuration for Bluestacks
- Operating System: Microsoft Windows 7 or later.
- CPU: Intel or AMD.
- RAM: Your PC must have at least 2GB of RAM. (Note: Having 2GB or more of disk space does not replace the RAM requirement.)
- HDD: At least 5GB of free space.
- You must be the Administrator of your PC or computer.
- Graphics drivers updated by Microsoft or the chipset provider.
How to Download Snapseed for PC
1. Quick Guide:
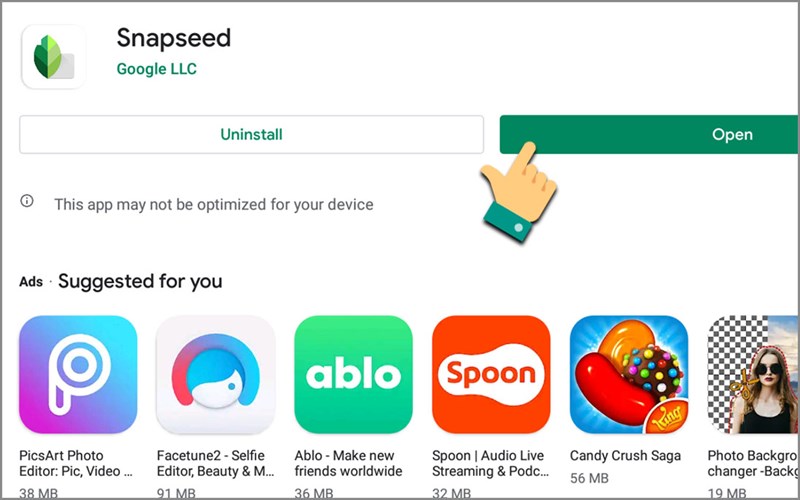
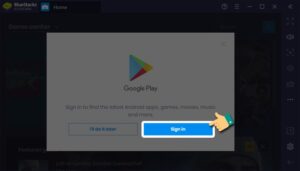
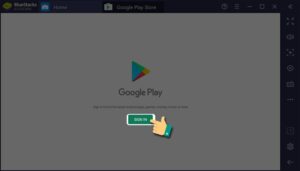
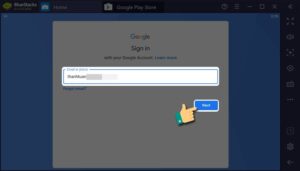
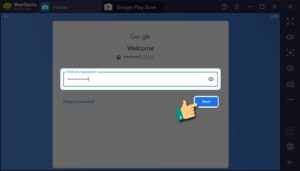
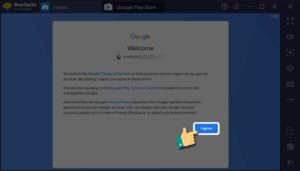
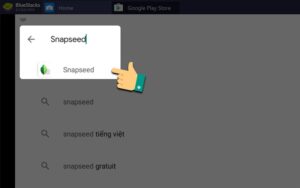
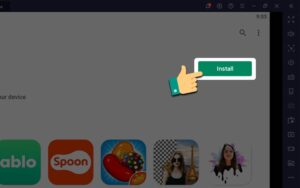
Access the provided LINK: Bluestacks to download the Android emulator software installer > Download > Select the storage location > Install now > Sign in to Google Play Store > Search for the keyword Snapseed > Click Install > Open > Complete and enjoy your experience.
2. Detailed Instructions
Step 1: Visit the provided LINK: Bluestacks to download the installation file.
Step 2: On the web browser interface, select Download BlueStacks.

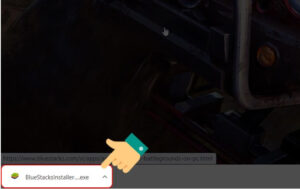
Step 3: Click on the installation file located at the bottom-left corner of the browser screen.
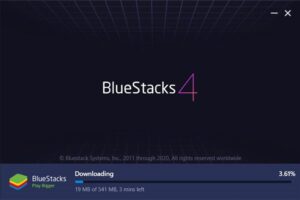
Step 5: Select Customize Installation to set the installation location. To choose the drive for installation, click Install Now.


